So, do you want to add some personality to your stuff? Make your things stand out from the crowd and scream “Hey, look at me!”? Well, I have a tip for you - try DIY vinyl printing with inkjet printable vinyl sheets! It’s so easy, even a sloth can do it.
Step 1 - Get Your Supplies
 First things first, you’re going to need some equipment. Here’s a quick rundown:
- Inkjet printer - Yeah, that’s right. You don’t need a fancy printer for this. Just a regular ol’ inkjet will do the trick.
- Vinyl sheets - You can find these at most craft stores or online. Just make sure they’re compatible with your printer.
- Cutting machine - This is optional, but highly recommended if you want to cut your vinyl into cool shapes.
- Transfer tape - Again, optional but helpful if you want to move your vinyl design to another surface.
Step 2 - Design Your Vinyl
Now for the fun part - designing your vinyl! You can use any graphic design software you like, but I recommend Silhouette Studio (which you can download for free). Here are the steps:
- Open up Silhouette Studio and create a new document.
- Click on “File” and then “Import” to bring in the image you want to print on your vinyl.
- Resize and arrange the image until it’s just the way you want it.
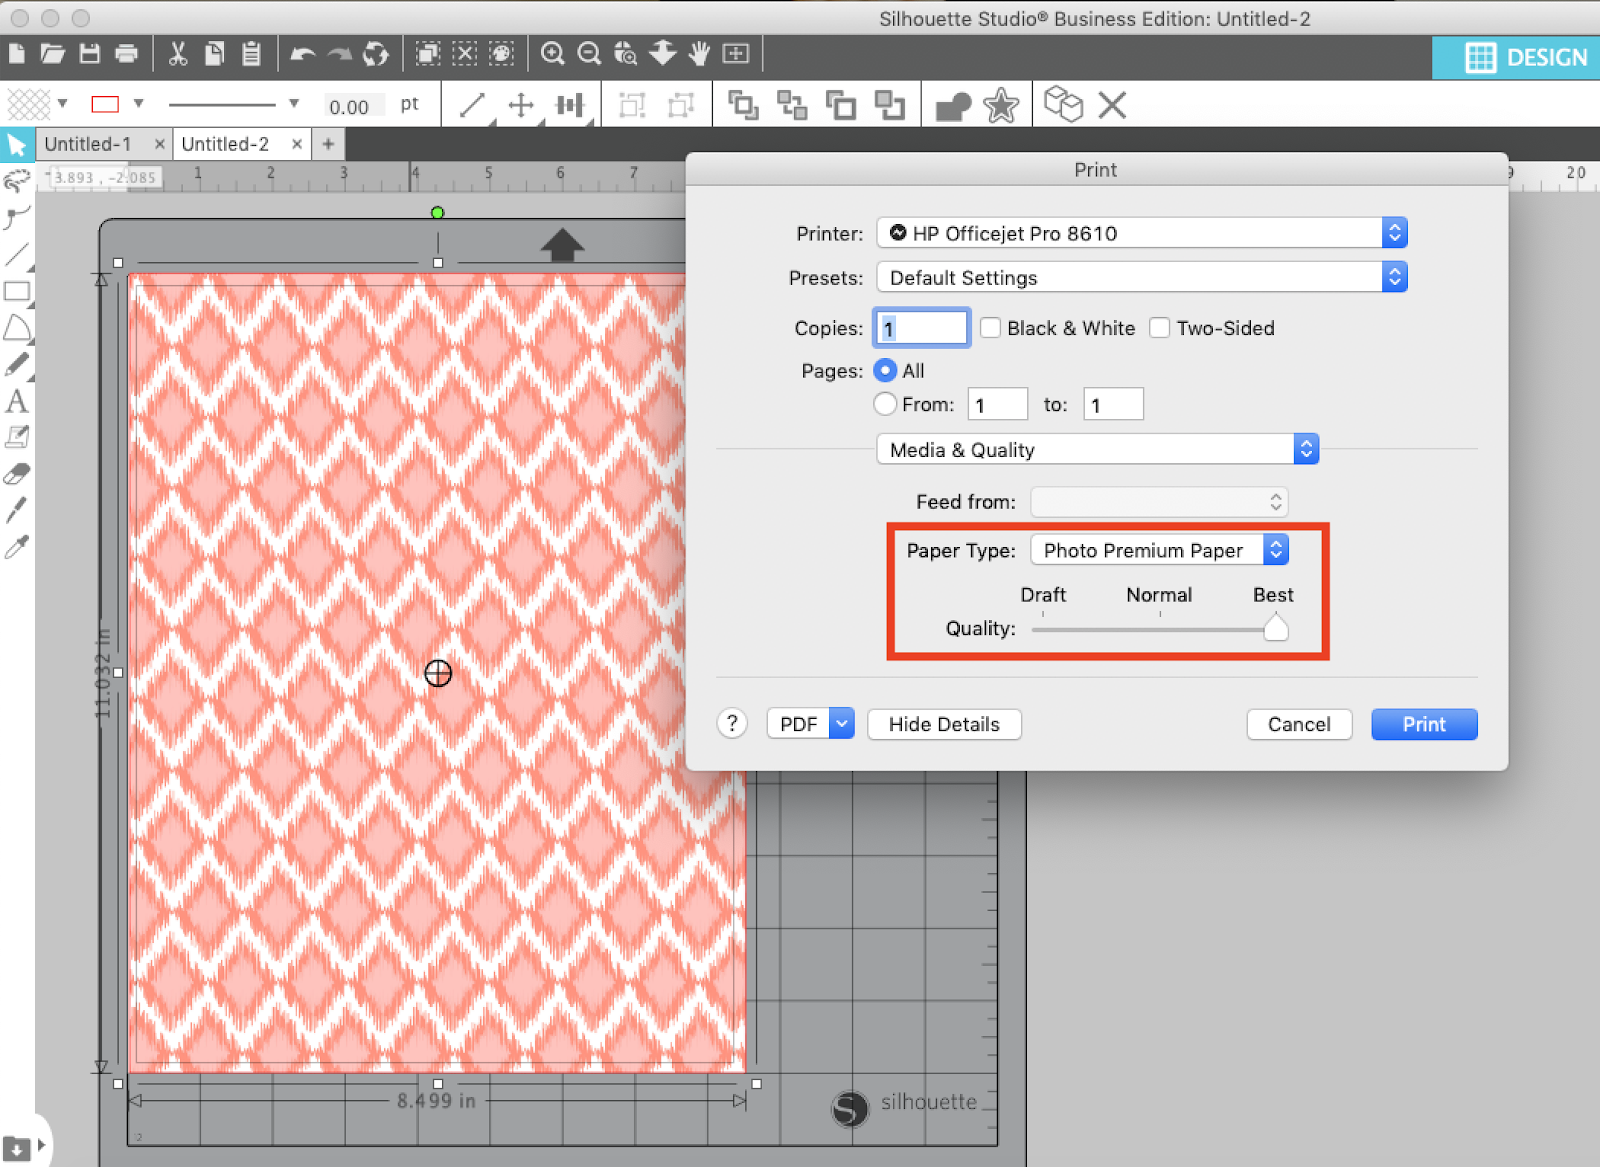
- Send the design to your printer and print it out on the vinyl sheet.
Step 3 - Cut Your Vinyl
If you want to get fancy and cut your vinyl into cool shapes, now is the time. Here’s how:
- Load your printed vinyl sheet onto your cutting machine.
- Set the machine to cut your design (make sure you’ve selected “vinyl” as the material).
- Watch in amazement as the machine does its thing.
Step 4 - Transfer Your Vinyl (Optional)
If you want to move your vinyl to another surface, this is where transfer tape comes in handy. Here’s how:
- Cut a piece of transfer tape slightly larger than your vinyl design.
- Peel the backing off the transfer tape and carefully place it over your vinyl.
- Smooth out any bubbles or wrinkles with a scraper tool.
- Carefully peel the transfer tape off the vinyl backing (the design should stick to the transfer tape).
- Place the transfer tape with the vinyl design onto the surface you want to transfer it to.
- Use the scraper tool to smooth out any bubbles or wrinkles.
- Carefully peel off the transfer tape, leaving your vinyl design on the surface.
And just like that, you’ve got a custom vinyl design that you made all by yourself! Now go forth and make all your stuff look awesome.