If you’re like me, you love tissue paper. It’s versatile, colorful, and affordable. I mean, what’s not to love? But have you ever thought about taking your tissue paper game to the next level? That’s right, I’m talking about printed tissue paper. It might sound fancy, but it’s actually super easy to do. Trust me, I’ll walk you through it.
First up: the basics
 Before we dive into the fancy stuff, let’s cover the basics. There are a few things you’ll need to get started:
- Tissue paper (obviously). You can buy it in bulk at any craft store or order it online.
- A printer. You’ll want an inkjet printer for this project.
- A computer. This is where you’ll design your tissue paper.
- Software. You can use any graphics program you’re comfortable with, like Photoshop or Illustrator, but I’ll be using Canva for this tutorial.
Step 1: Design your tissue paper
 Now comes the fun part. Open up your design software and create a new document. For this tutorial, I’m using Canva. You can choose any size you like, but I recommend starting with an 8.5 x 11 document (standard printer size) and then adjusting from there.
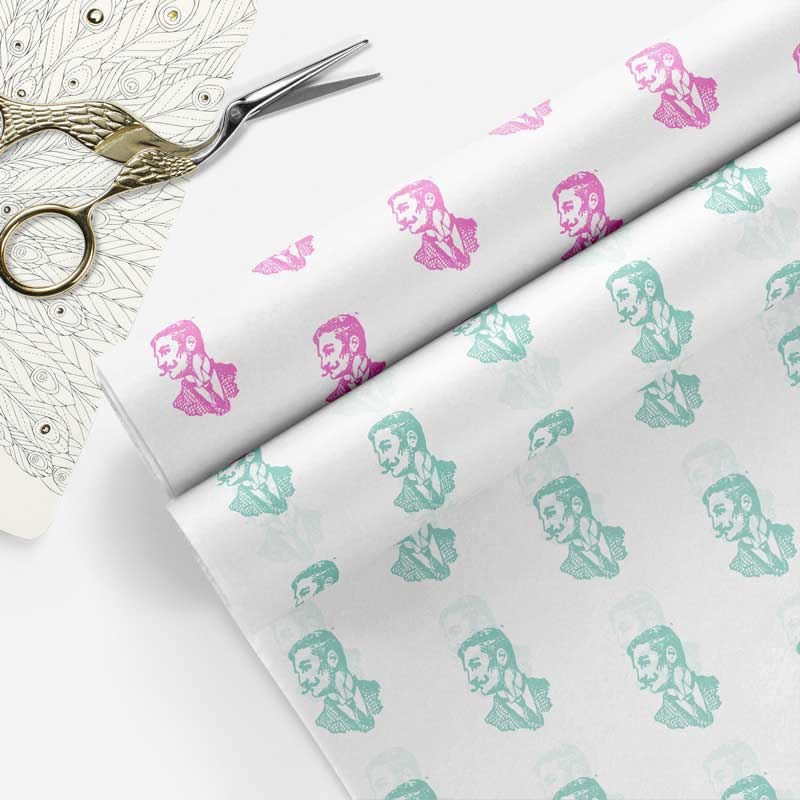
Next, let’s choose a background color or pattern for our tissue paper. You can use any color or pattern you like, but keep in mind that tissue paper is translucent, so lighter colors will show up better. For this example, I’m going to use a simple pink polka dot pattern.
 Now it’s time to add some designs to our tissue paper. You can get as creative as you want here! If you’re stuck for ideas, try searching for free clip art or patterns online. For this example, I’m going to add a few cherry blossom branches to our tissue paper.
Once you’re happy with your design, save it as a PDF file. This is important, as it will preserve the quality of your design when you print it.
Step 2: Print your tissue paper
 Now it’s time to print your tissue paper. Load your tissue paper into your printer, making sure the side you want to print on is facing down. This is important, as tissue paper is very thin and can get jammed in the printer if it’s loaded incorrectly.
Next, open up your PDF file and print it onto your tissue paper. You’ll want to set your printer to print at the highest quality possible, as this will give you the best results.
Once your tissue paper is printed, let it dry for a few minutes before handling it. You don’t want the ink to smudge or smear!
Step 3: Use your printed tissue paper
 Now that you have your beautiful printed tissue paper, it’s time to put it to use. Here are a few ideas to get you started:
- Wrap gifts in your custom tissue paper for a personalized touch.
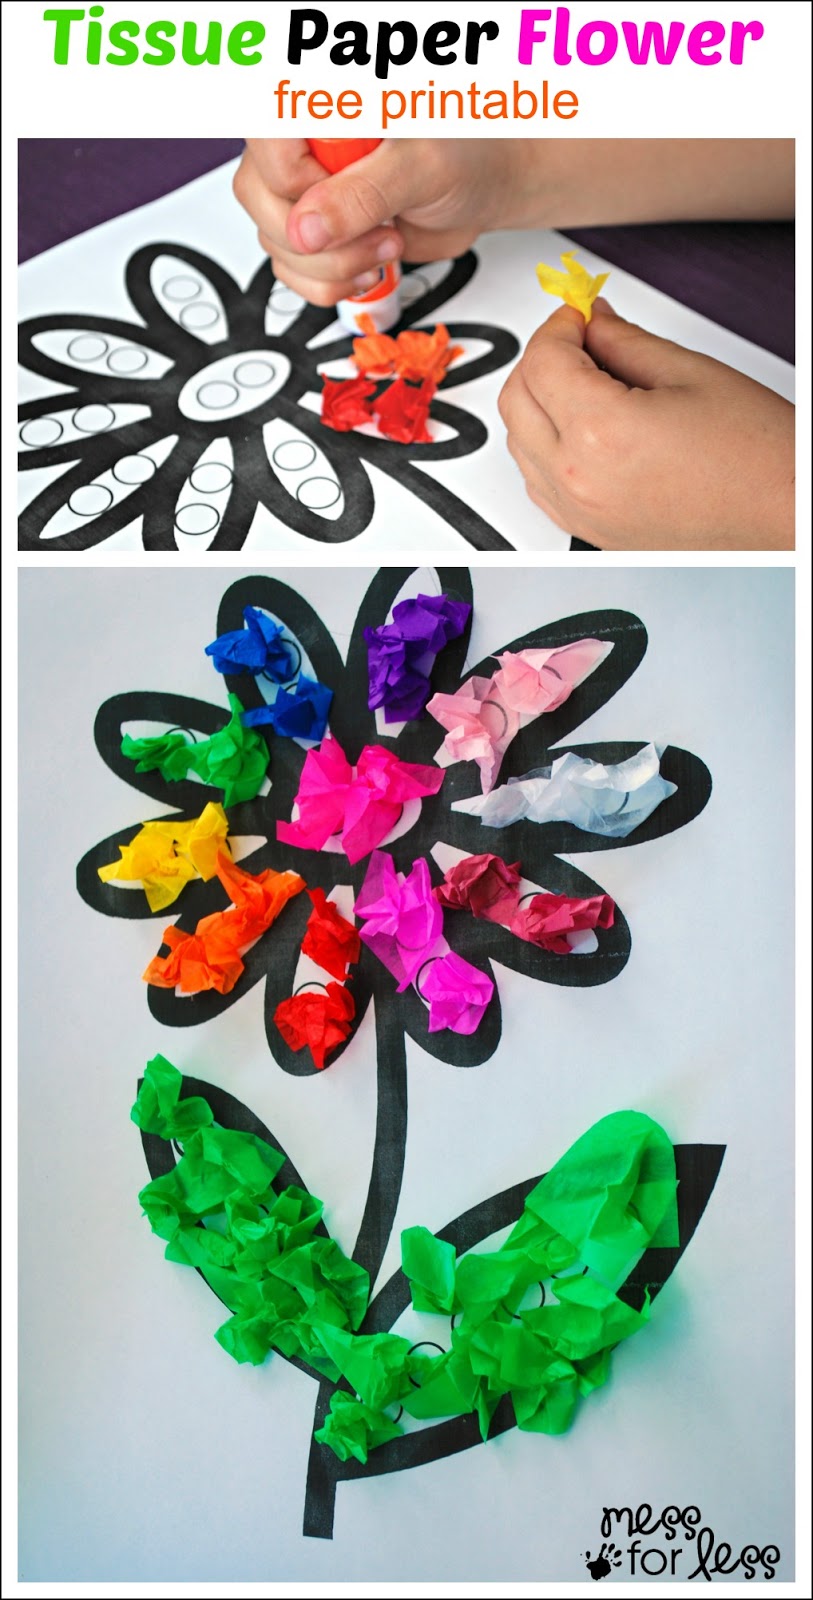
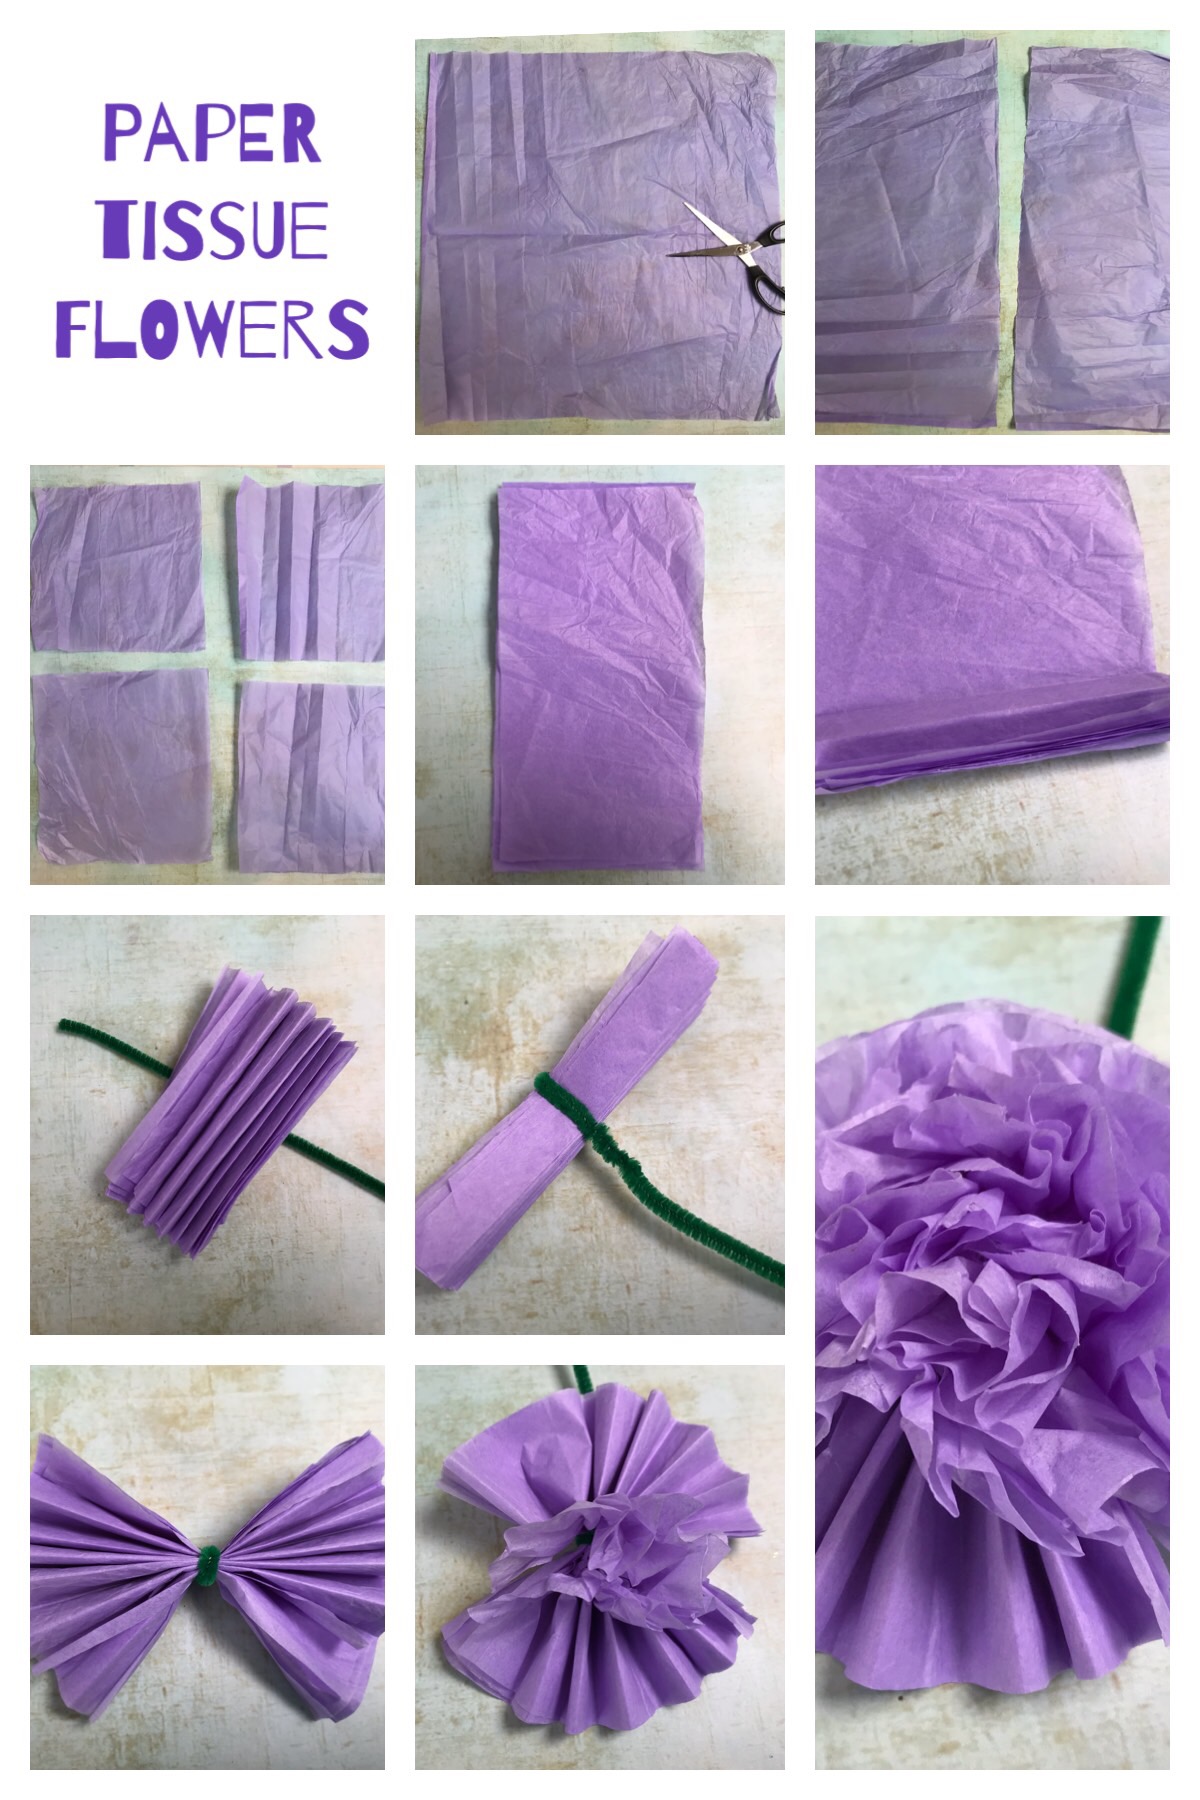
- Make tissue paper flowers to decorate your home or give as gifts.
- Create custom tissue paper pom poms to use as party decorations.
- Use your printed tissue paper to decoupage furniture or other home decor items.
Final thoughts
 As you can see, printed tissue paper is a fun and easy way to add a personal touch to your crafts and gifts. Whether you’re making tissue paper flowers or wrapping a present, custom tissue paper is sure to impress. Just remember to use an inkjet printer, load your tissue paper correctly, and print at the highest quality possible. Happy crafting!